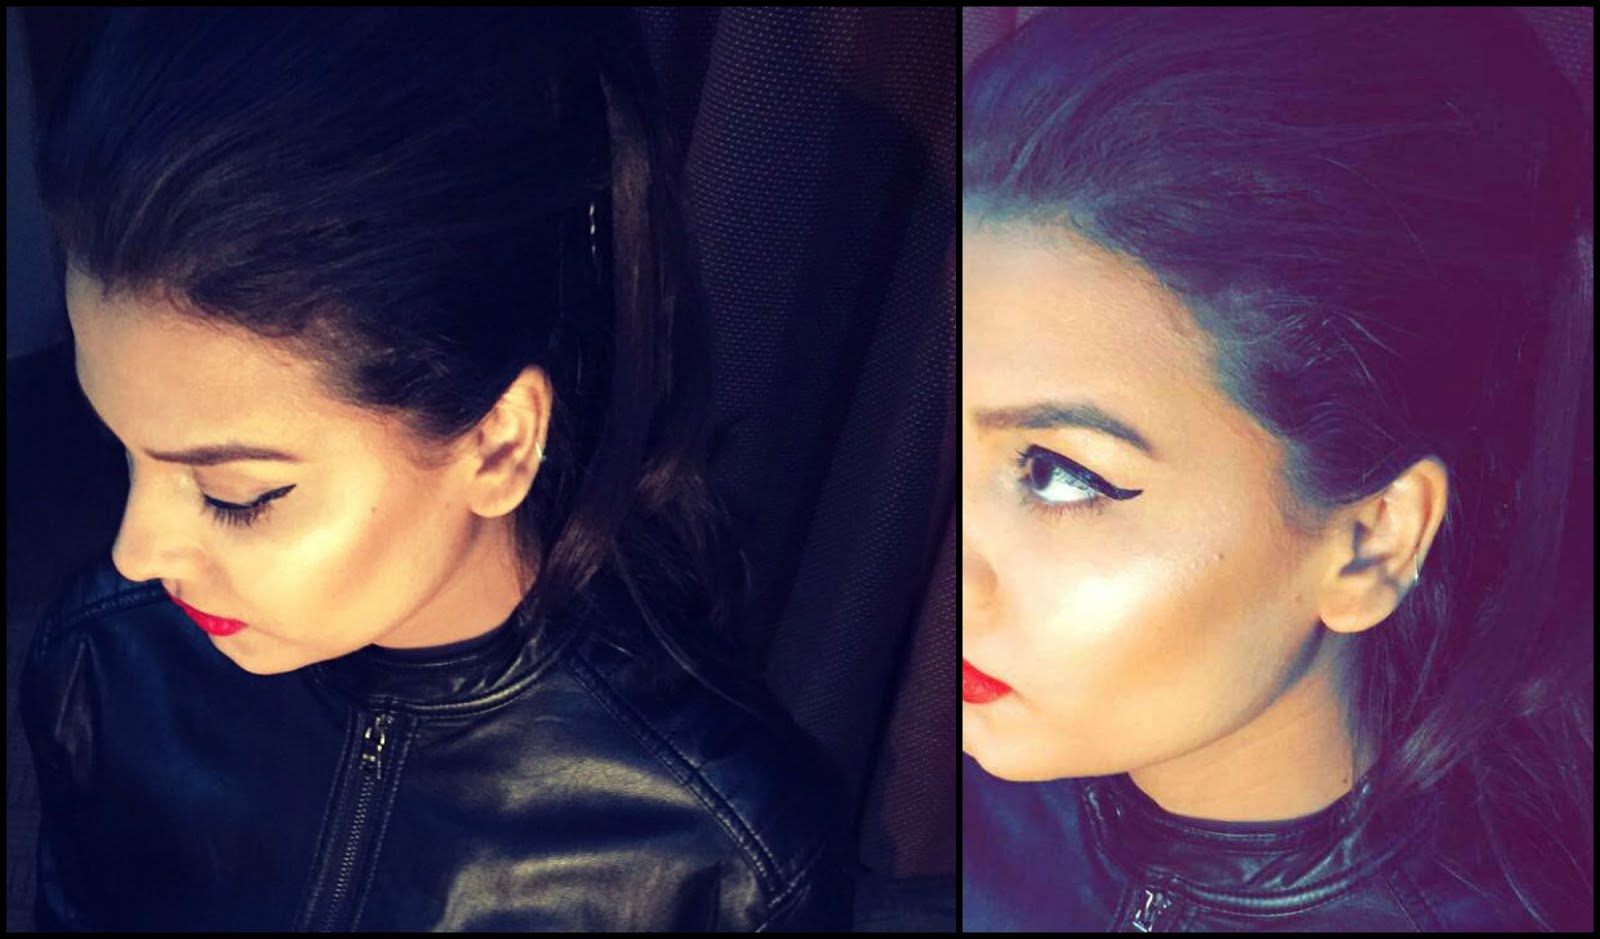

So today I tried to recreate the classic bold lips with winged liner look. This look is great for parties and functions specially if you are a beginner and haven't quite learned how to nail the smokey eyes look, also it makes you look all hot and glamorous thus this is a must try and hopefully after this tutorial you will be able to recreate it so here we go! :)
PRODUCTS USED:
Primer: bareMinerals Prime time foundation primer.
Foundation: Maybelline Dream matte mousse.
Concealer: Maybelline dark circle eraser.
Mascara: Loreal Power volume 24H.
Eyeliner: Rimmel Waterproof gel eyeliner.
Highlighter: Benefit Watts up highlighter.
Blush: Sophia Asley glossy shading blusher.
Lips: Mac ruby woo
STEP 1(Primer,foundation):
First apply a primer all over your face as it helps in smooth application and wait for a minute or so for it to dry up, then apply foundation to your face and blend it thoroughly with a beauty blender to avoid making your face look cakey.
STEP 2(Contouring & Baking):
This step is a bit tricky, you will probably need some practice to ace it so I will be writing a detailed blog about it soon because honestly this is my favorite part of the makeup and it look me some time to nail it aswell, anyways hopefully this will help too. Take your concealer and draw inverted triangles under your eyes then draw a circle on your chin also apply it on the evil blemishes ( -.- ) which might be present on your skin and blend it out using the beauty blender.
To bake your face press a thick layer of loose translucent powder under your eyes(where you applied your concealer), chin and under your cheekbones(under the part where you apply bronzer) and let it sit meanwhile you can apply bronzer and remember don't be shy with the powder the goal is to look like you have flour all over your face. After 5-10 minutes take a fluffy rounded shaped brush and remove the excess powder.
To apply bronzer firstly select a suitable bronzer always choose the one which is two shades darker than your normal skin tone, then choose a wide fluffy brush with rounded tip for application. Apply bronzer to the areas of the face the sun would naturally hit. Using very light strokes, first apply it to the top of the forehead, the cheekbones and down along your jawline. Done correctly your bronzer application will be in a "3" shape on either side of your face.
STEP 3(Blush & Highlight):
Apply blush using medium sized fluffy brush, do a fish face and apply it, this will help you find the apple of your cheeks. Blend it well and make sure there's no visible creasing.
Using a kabuki brush apply your highlighter to the outer eyebrow bone, then switch to a flat brush and stroke it across the top your cheekbones, apply it over the nose,chin and over your lips' cupid's bow.
STEP 4(Eyes & Brows):
Winged eye liners are my absolute favorite but can be a real pain in the a** specially when you are in a hurry and they refuse to cooperate, making you look like a panda by the time you're done evening them out.
Apply pencil to your upper lash line, measure how far the wing should go then draw a thin diagonal line out to act as the wing, make a straight line from the tip to the middle of your eyelid, fill in the outline and thicken the line at the inner eyelid.
Fill in your eyebrows.
STEP 5(Lips):
Apply a beautiful red shade lippy but then again nude lips look smoking hot with this look too. Last but not the least apply makeup setting spray and voila!
Hope you guys enjoyed and learnt something from this tutorial if you still have any queries let me know in the comments section below. Ciao!
Doing all this right away ��
ReplyDeleteYayy! Let me know how it turns out then :)
DeleteAww thanks a lot love your blog! :)
ReplyDeleteThat is such a classic look! MAC Ruby Woo is the perfect Red! x
ReplyDeleteLet me know if you follow my blog and I'll follow right back <3
www.gulezehrasblog.blogspot.com
Aww Thanks :) I do follow your blog love it :)
Deletelooving this look so much! x
ReplyDeletedarcia.pl